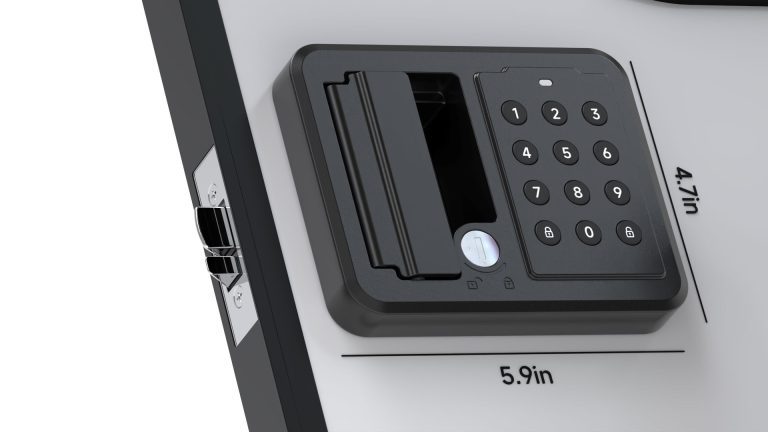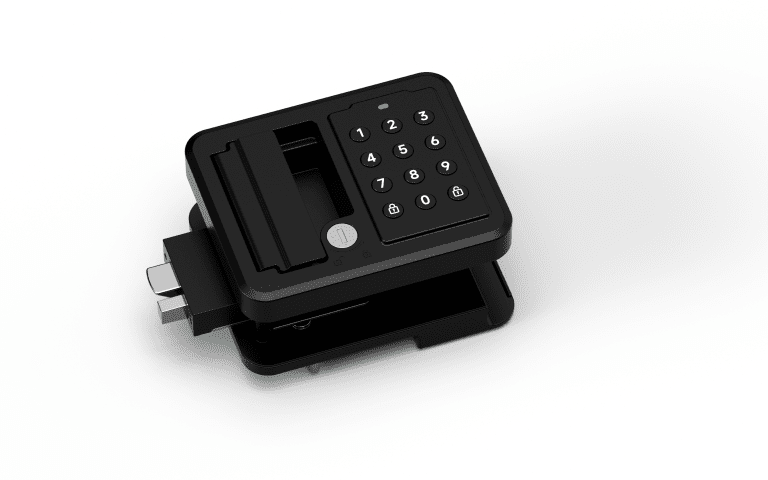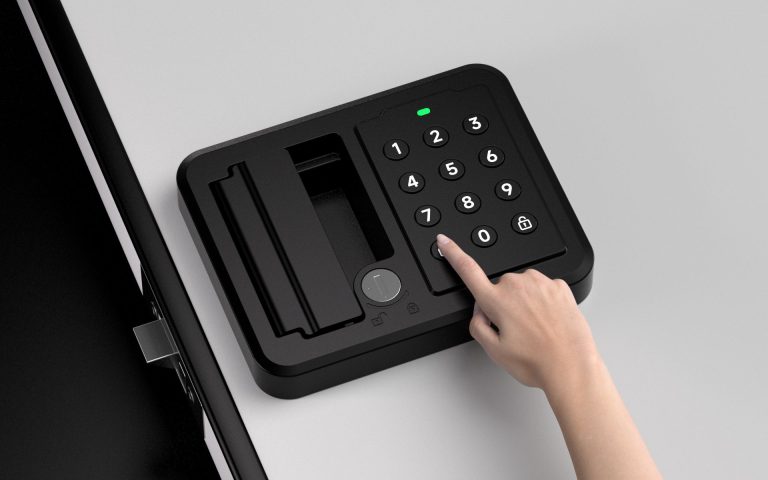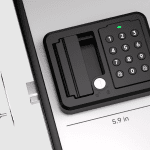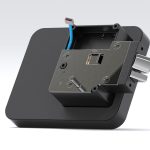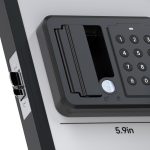

Learn how the interior and exterior lock assemblies connect, including wiring, latch engagement, and mechanical alignment points.
Interior Lock Assembly Overview
The interior lock assembly is designed for easy installation and precise connection with the exterior lock unit.
During installation, make sure all connection points are properly aligned before securing the lock assembly.
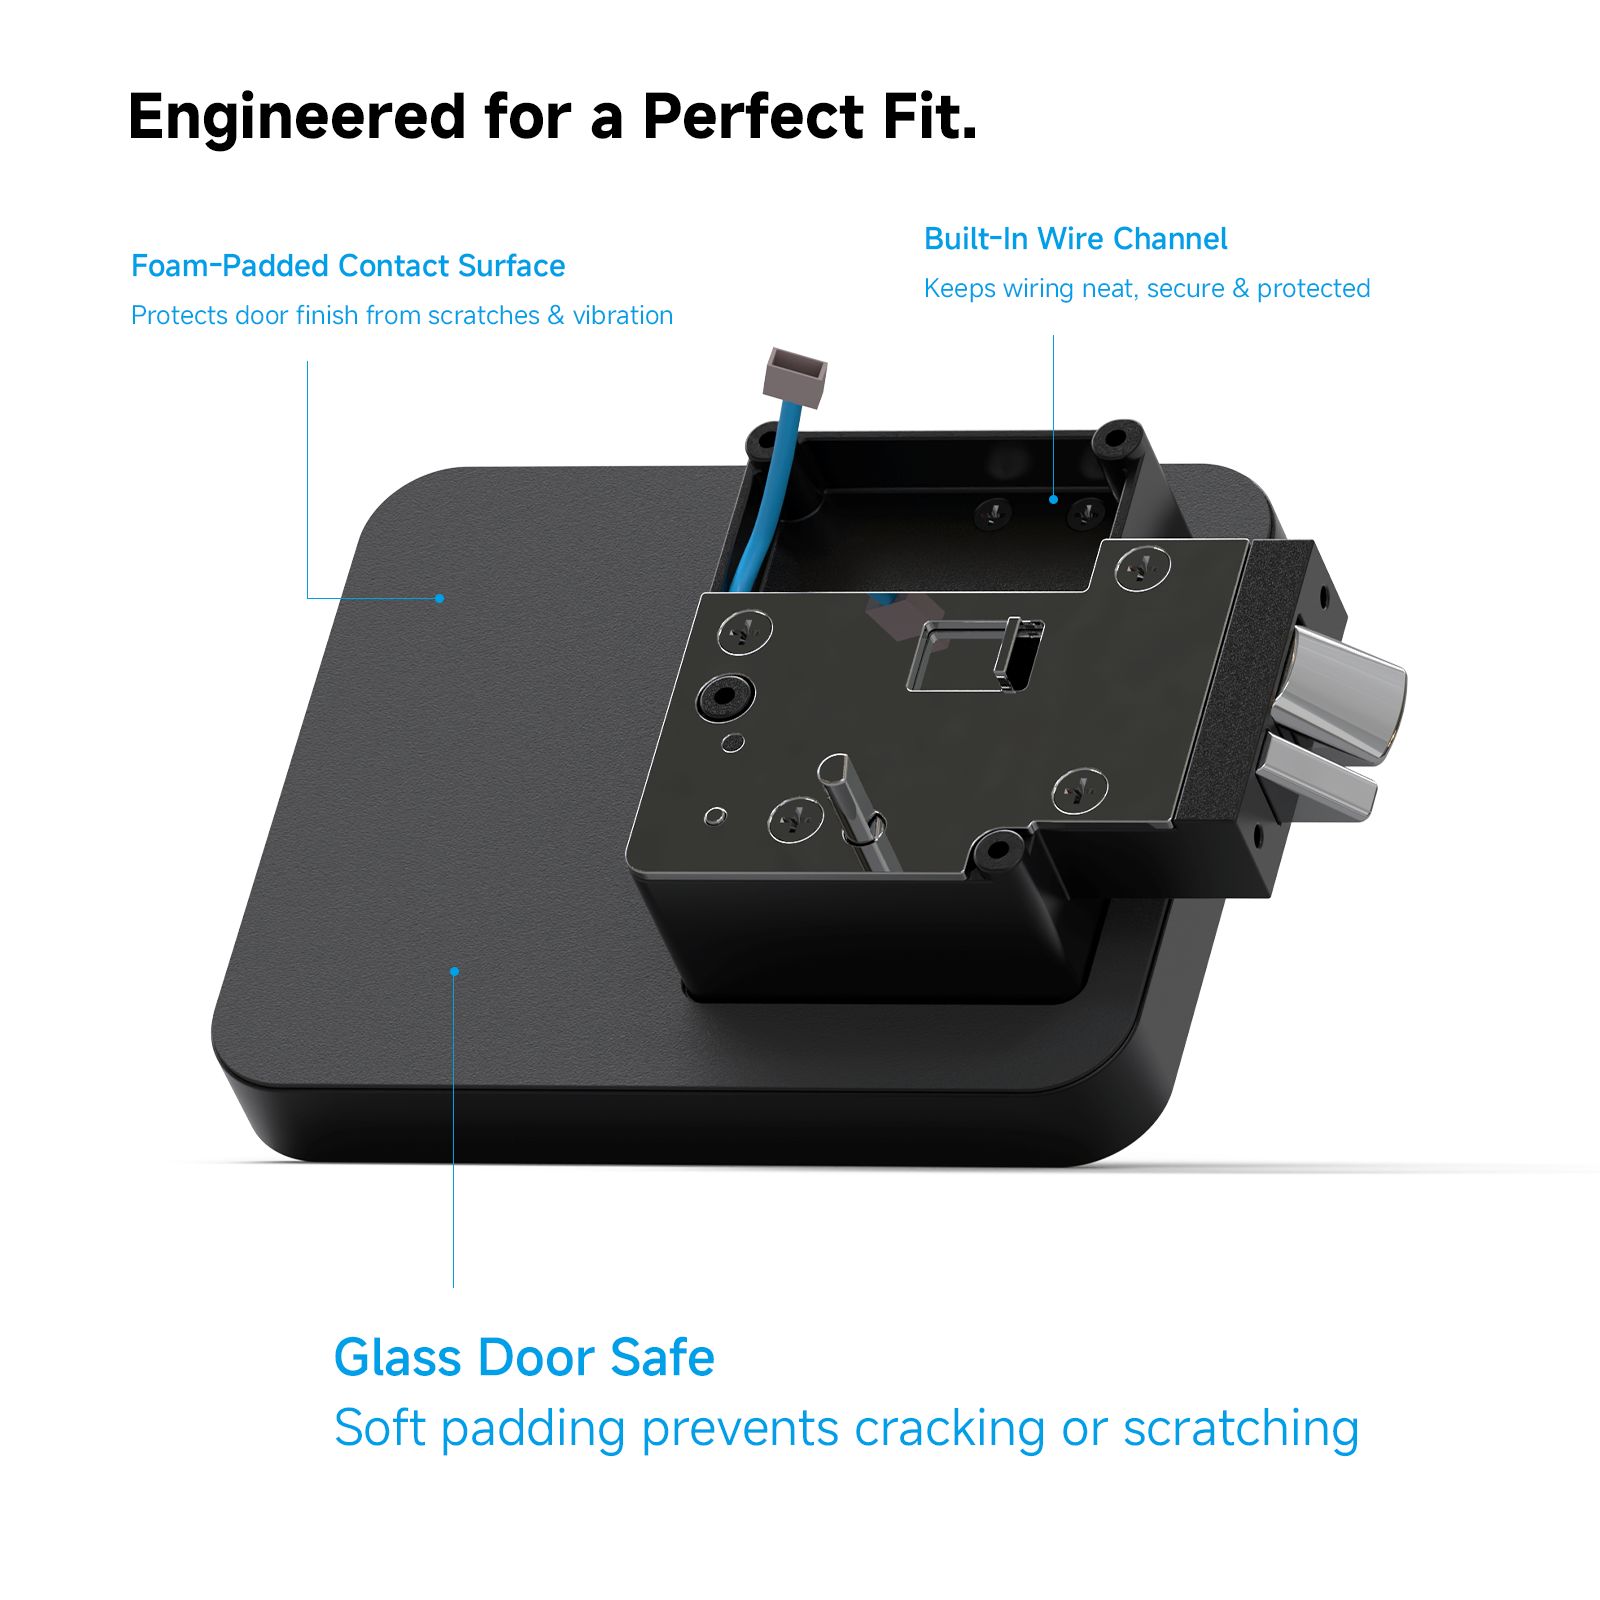
Interior Lock Structure & Connection Points
Key Connection Points
Power Connector
Connects the interior lock assembly to the external lock unit to provide power and electronic communication.
Latch Engagement Point
Aligns with the latch mechanism to ensure proper locking and unlocking operation.
D-Shaft Alignment
The D-shaft provides mechanical alignment between the interior and exterior lock assemblies for accurate handle operation.
Built-In Wire Channel
The integrated wire channel protects and organizes wiring during installation, helping prevent pinching or damage.
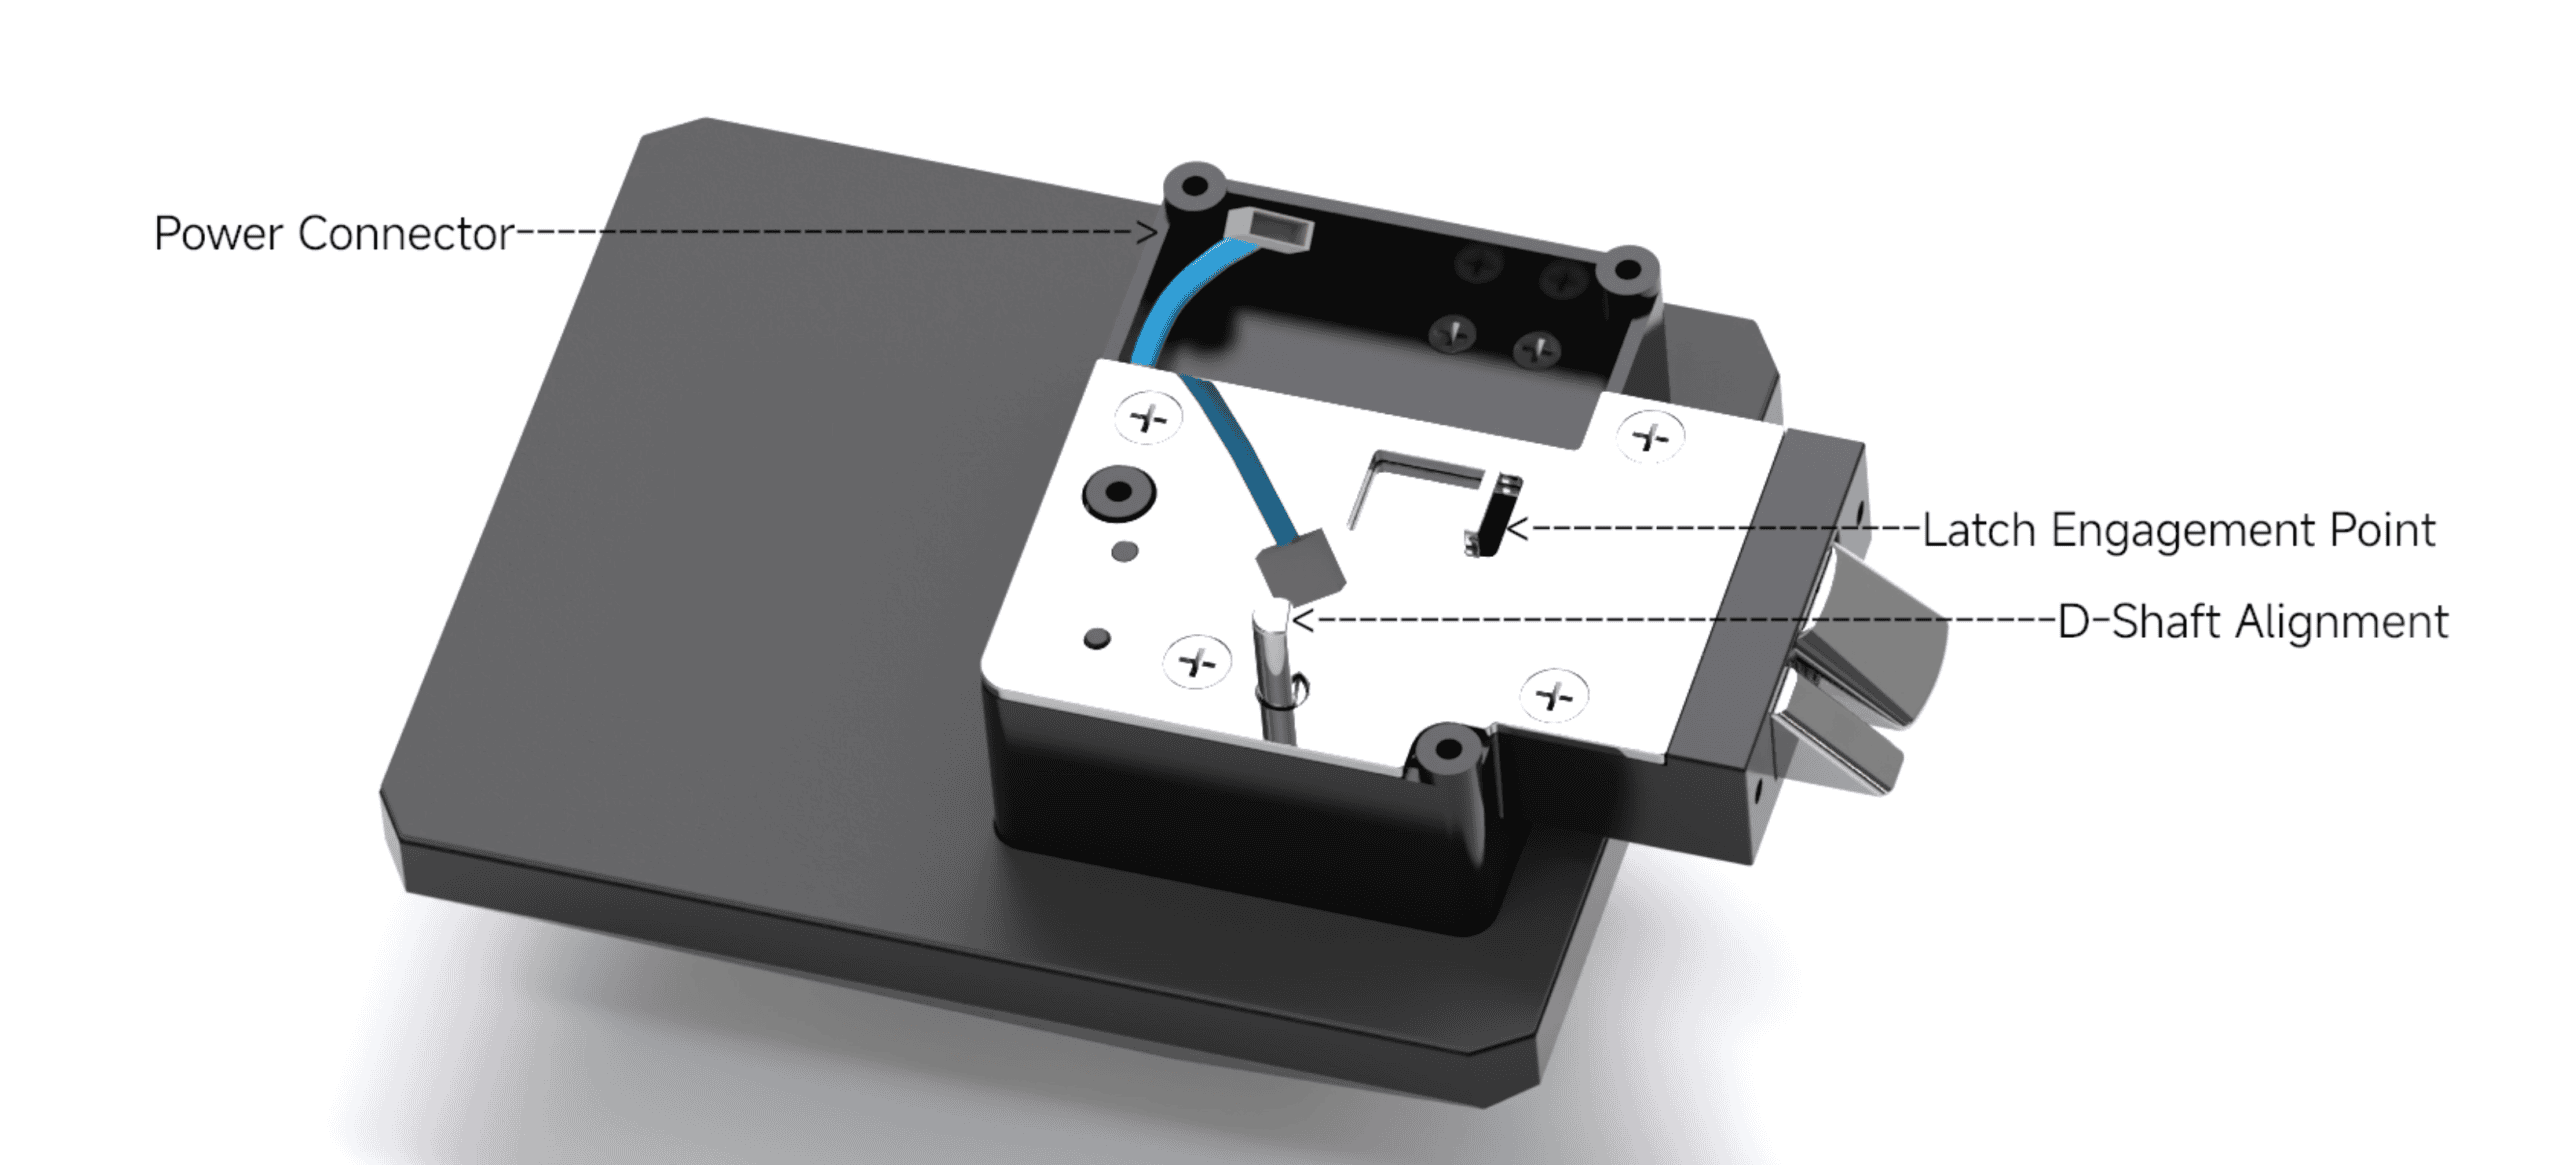
Interior Lock Installation Alignment
Exterior & Interior Lock Assembly Connection
The interior and exterior lock assemblies are designed to work together as one integrated system.
During installation:
- Align the D-shaft between the interior and exterior lock assemblies.
- Connect the power connector securely.
- Confirm the latch engagement point is correctly positioned.
- Tighten mounting screws evenly to secure both assemblies.
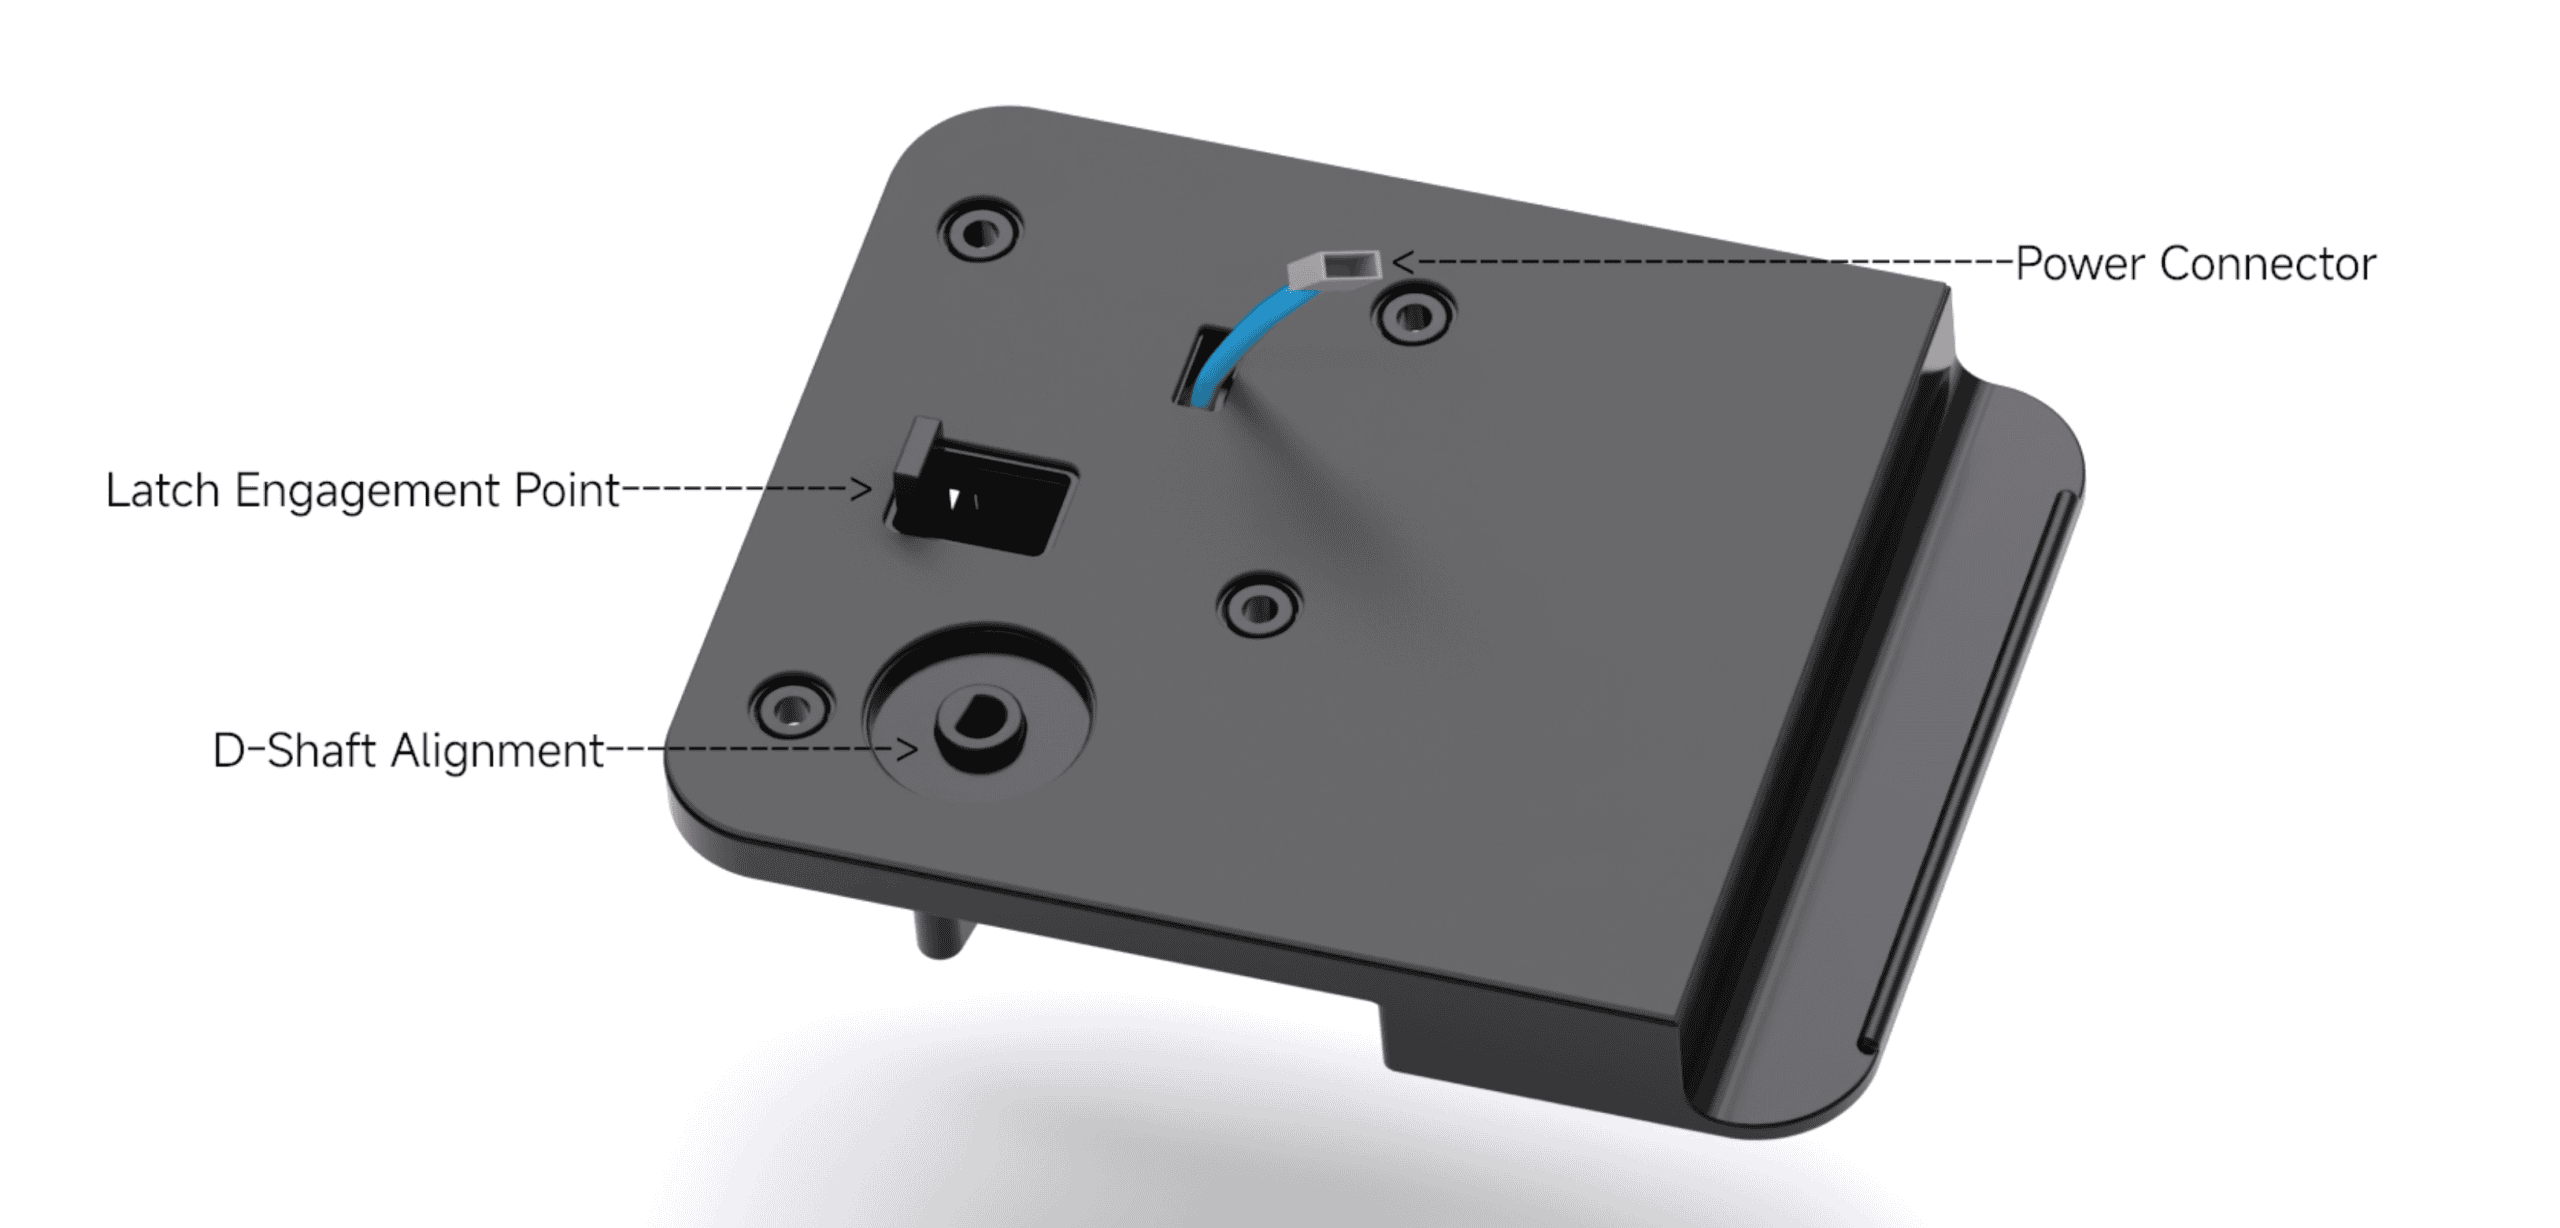
Interior and Exterior Lock Interface
Installation Tips
Before final installation:
✓ Ensure all connectors are fully inserted.
✓ Confirm the mechanical shaft is properly aligned.
✓ Make sure wires are routed through the protected channel.
✓ Test locking and unlocking operation before closing the door panel.